Mastering Blackstone Seasoning: Your Ultimate Griddle Guide
For anyone who owns or is considering a Blackstone griddle, understanding the art of Blackstone seasoning is not just a recommendation—it's the cornerstone of exceptional outdoor cooking. This fundamental process transforms a raw steel surface into a durable, non-stick, and highly efficient cooking platform, ensuring your meals are perfectly cooked and your griddle lasts for years. From searing steaks to flipping pancakes, a properly seasoned griddle delivers unparalleled performance, making every outdoor cooking session a true pleasure. This comprehensive guide will walk you through everything you need to know about preparing, applying, and maintaining your griddle's vital protective layer.
Whether you've just unboxed a brand-new Blackstone or are looking to restore a well-loved griddle, mastering the seasoning process is essential. It's the secret to achieving that coveted non-stick surface and protecting your investment from rust and wear. We'll delve into the 'why' behind seasoning, the best oils to use, step-by-step instructions for both new and rusty griddles, and crucial maintenance tips to keep your griddle in prime condition for countless culinary adventures.
Table of Contents
- Why Season Your Blackstone Griddle? The Foundation of Flavor and Longevity
- Gathering Your Materials: What You'll Need
- Preparing Your Blackstone for Seasoning
- The Step-by-Step Guide to Blackstone Seasoning
- Choosing the Right Oil for Blackstone Seasoning
- Maintaining Your Blackstone Griddle's Seasoning
- Common Blackstone Seasoning Mistakes to Avoid
- Beyond the Griddle: Blackstone Flavor Seasonings
Why Season Your Blackstone Griddle? The Foundation of Flavor and Longevity
Before you learn how to season a Blackstone griddle, it's important to understand why you need to season the surface and what seasoning even means. Many new griddle owners might be tempted to fire up their new appliance right out of the box, but skipping the seasoning process is a critical error. The Blackstone griddle, a flat top cooking surface synonymous with alfresco patio dining, is made of solid rolled steel. When the metal on these cooking pans and appliances is raw, it's susceptible to rust and offers no non-stick properties. Establishing a strong seasoning layer on your griddle's cooking surface before cooking will help improve your cooking experience and help your griddle last for years to come. This layer is essentially a polymerized oil coating that bonds to the metal surface. It fills in the microscopic pores of the steel, creating a smooth, non-stick surface that food won't cling to. Furthermore, this protective layer acts as a barrier against moisture, preventing rust and corrosion, which are common enemies of steel cookware. Without proper Blackstone seasoning, your griddle will be prone to sticking, difficult to clean, and its lifespan will be significantly shortened. It’s truly the first and most crucial step to achieve perfectly cooked dishes.Gathering Your Materials: What You'll Need
Preparing to season your Blackstone griddle requires a few essential items. Start by gathering your materials to ensure a smooth and efficient process. Having everything at hand before you begin will prevent interruptions and ensure you can complete each step correctly. Here’s a checklist of what you’ll need: * **High Smoke Point Oil:** This is the star of the show. We'll discuss specific recommendations later, but options like flaxseed oil, avocado oil, grapeseed oil, or even Blackstone's own griddle seasoning oil are excellent choices. * **Paper Towels or Lint-Free Cloths:** You'll need these for applying the oil and wiping off excess. * **Heat-Resistant Gloves or Tongs:** To protect your hands while working with a hot griddle. * **Scraper or Metal Spatula:** For cleaning the griddle surface, especially if dealing with rust. * **Warm, Soapy Water (for initial cleaning):** Only for the very first wash of a new griddle, or for deep cleaning a rusty one. Avoid soap on a seasoned surface. * **Garden Hose or Water Source (for rusty griddles):** For rinsing off rust and cleaning solutions. Having these materials ready will make the seasoning process much more manageable and effective, setting you up for success in achieving that perfect non-stick surface.Preparing Your Blackstone for Seasoning
The preparation steps vary slightly depending on whether you have a brand-new griddle or one that needs rust removal. This guide will help you season a brand new Blackstone griddle from out of the box and also how to tackle a rusty one.New Griddle Prep
If you’ve just purchased a Blackstone griddle or you’re preparing to cook on one for the first time, seasoning your griddle is an essential step to ensure optimal performance and longevity. New Blackstone griddles come with a thin, factory-applied protective coating to prevent rust during shipping. This coating needs to be removed before seasoning. 1. **Initial Wash:** Using warm, soapy water and a soft cloth or sponge, thoroughly wash the entire cooking surface. This is the only time you should use soap on your griddle. Scrub away any residue from the factory coating. 2. **Rinse Thoroughly:** Rinse the griddle completely with clean water to remove all soap residue. 3. **Dry Completely:** Immediately dry the griddle with paper towels or a clean cloth. You can also turn the burners on low for a few minutes to ensure all moisture evaporates. Any lingering moisture will lead to rust.Restoring a Rusty Griddle
Learn how to season a new or rusty Blackstone griddle with oil and heat, and how to maintain its seasoning for optimal cooking results. If your griddle has developed rust, don't despair! It's usually salvageable. 1. **Scrape Off Loose Rust:** Use a metal scraper or a stiff-bristled brush to remove as much loose rust as possible. For stubborn spots, a grill brick or coarse sandpaper can be effective. 2. **Wash with Soap and Water:** Just like a new griddle, wash the entire surface with warm, soapy water. Use a scrub brush or steel wool for tough rust spots. 3. **Rinse and Dry Immediately:** Rinse thoroughly and dry the griddle completely. Again, turning the burners on low helps ensure it's bone dry. 4. **Optional: Vinegar Soak (for severe rust):** For very heavy rust, you can apply a mixture of equal parts white vinegar and water. Let it sit for 15-30 minutes, then scrub vigorously. Rinse and dry immediately. Be cautious not to let vinegar sit too long, as it can etch the metal. Once your griddle is clean and completely dry, you're ready for the actual Blackstone seasoning process.The Step-by-Step Guide to Blackstone Seasoning
In this comprehensive guide, we’ll walk you through the process of seasoning your Blackstone griddle, providing detailed instructions and tips to achieve the perfect surface for years of delicious meals. With outdoor cooking season kicking off, we asked an expert for tips on how to properly season your Blackstone griddle. Here are the steps you should take. 1. **Heat the Griddle:** Turn all burners to high. Allow the griddle to heat up for 10-15 minutes until the entire surface changes color, turning dark brown or even black. This indicates that the pores of the metal are opening up, ready to accept the oil. 2. **Apply a Thin Layer of Oil:** Once the griddle is hot and has changed color, turn the burners off or to low. Apply about 2-3 tablespoons of your chosen high smoke point oil to the griddle surface. 3. **Spread Evenly:** Using paper towels held with tongs or heat-resistant gloves, spread the oil evenly across the entire cooking surface, including the sidewalls. The key here is to apply an *extremely thin* layer. You want just enough to coat the surface, but not so much that it pools. Think of it like a "wipe on, wipe off" technique – wipe it on, then wipe almost all of it off. A thin, even layer is crucial for proper polymerization and to prevent a sticky, gummy surface. 4. **Burn Off the Oil:** Turn the burners back to high. The griddle will start to smoke heavily. This is good! It means the oil is burning off and polymerizing, bonding to the metal. Let it smoke until the smoke significantly subsides, and the griddle surface turns dark brown or black again. This usually takes 15-30 minutes, depending on the oil and heat. 5. **Repeat the Process (Multiple Coats):** Once the smoke subsides, turn off the burners and let the griddle cool slightly (just enough so it's safe to handle but still warm). Repeat steps 2-4 at least 3-5 more times. For optimal results, especially for a new griddle, aim for 5-7 layers of seasoning. Each layer builds upon the last, creating a progressively more durable and non-stick surface. The oil will eventually create a durable nonstick surface. After the final layer, let the griddle cool completely. You should have a uniform, dark, glossy, and non-stick surface. This maintains a perfect coating, ready for cooking.Choosing the Right Oil for Blackstone Seasoning
This guide will give you everything you ever wanted to know about Blackstone griddle seasoning, including what oil to use, how many rounds of seasoning you need, and detailed steps. The best oils for Blackstone seasoning are those with a high smoke point and a good ability to polymerize. Polymerization is the process where the oil chemically bonds with the metal surface under high heat, creating that hard, non-stick layer. Here are some excellent choices: * **Flaxseed Oil:** Often considered the gold standard by many griddle enthusiasts due to its excellent polymerization properties, creating a very hard and durable seasoning. However, it can be more expensive and some find it more prone to flaking if not applied *very* thinly. * **Avocado Oil:** A fantastic all-around choice. It has a very high smoke point (around 520°F/270°C), making it ideal for the high heat of a Blackstone. It polymerizes well and is readily available. * **Grapeseed Oil:** Another great option with a high smoke point (around 420°F/215°C) and good polymerization. It's relatively inexpensive and widely available. * **Canola Oil/Vegetable Oil:** More common and affordable, these oils have decent smoke points (around 400°F/205°C) and work well for seasoning. They might require a few more layers to build up a robust coating. * **Blackstone Griddle Seasoning & Conditioner:** Blackstone also offers its own proprietary blend, specifically formulated for their griddles. This is a convenient and effective option, designed to work perfectly with their steel. Avoid oils with low smoke points like olive oil or butter for initial seasoning, as they will burn and create a sticky, gummy residue rather than a hard, protective layer.Maintaining Your Blackstone Griddle's Seasoning
The Blackstone griddle seasoning is a fundamental part of owning and operating a Blackstone griddle. Understanding its components, benefits, and the importance of regular maintenance is key to a long-lasting and high-performing griddle. Once your griddle is seasoned, maintaining that layer is crucial for continued non-stick performance and rust prevention.Frequency of Seasoning
The frequency of seasoning your Blackstone griddle depends on how often you use it and what foods you cook. * **Initial Seasoning:** As detailed above, 5-7 layers are recommended for a new griddle. * **Regular Use:** For regular users who use their griddle several times a week, a full re-seasoning (multiple layers) might only be needed once or twice a year, or if you notice food sticking consistently or rust spots appearing. * **After Every Cook:** The most important maintenance is a light "maintenance seasoning" after every cook. This involves applying a very thin layer of oil to the warm griddle after cleaning. This keeps the existing seasoning robust and prevents rust.Post-Cook Care
Proper cleaning after each use is vital for maintaining your Blackstone seasoning: 1. **Scrape While Warm:** After cooking, while the griddle is still warm (but not scorching hot), use a metal griddle scraper to push off any food debris and excess oil into the grease trap. 2. **Wipe Down:** Use paper towels to wipe the surface clean. For stubborn bits, you can pour a small amount of water (or even ice cubes, though be cautious of steam) onto the hot surface to deglaze and loosen stuck-on food, then scrape and wipe. 3. **Apply Maintenance Oil:** Once clean and dry, apply a very thin layer of high smoke point oil (the same type you used for initial seasoning) to the entire cooking surface. Spread it evenly and wipe off any excess. This replenishes the seasoning and protects against rust until the next use. 4. **Avoid Soap:** Never use soap on a seasoned griddle for regular cleaning, as it will strip away the seasoning layer. 5. **Store Properly:** Ensure your griddle is completely dry before covering it with a griddle cover or storing it in a dry place to prevent rust. We interviewed the Marrow Private Chefs and cleaning expert, who emphasized that consistent post-cook care is more important than infrequent deep re-seasoning. "It's the little things you do every time that add up to a perfectly maintained surface," they noted.Common Blackstone Seasoning Mistakes to Avoid
Even with the best intentions, some common pitfalls can hinder your Blackstone seasoning efforts. Being aware of these can save you time and frustration: * **Using Too Much Oil:** This is perhaps the most common mistake. Applying too much oil results in a sticky, gummy, uneven surface that will flake off easily. Remember, "wipe on, wipe off" – you want an almost imperceptible layer of oil. * **Not Heating Enough:** If the griddle isn't hot enough, the oil won't polymerize properly. Ensure the griddle reaches its smoking point and the oil burns off completely for each layer. * **Not Enough Layers:** A single layer of seasoning isn't enough to create a durable, non-stick surface. Multiple thin layers are key to building up a strong foundation. * **Not Cleaning Properly Before Seasoning:** Any residue, rust, or factory coating left on the griddle will prevent the oil from bonding effectively, leading to an uneven or peeling seasoning. * **Using the Wrong Oil:** Oils with low smoke points will simply burn and leave a sticky mess, not a seasoned surface. Stick to high smoke point oils. * **Using Soap After Initial Seasoning:** Soap is designed to break down fats and oils, which is exactly what your seasoning is made of. Avoid it for daily cleaning to preserve your seasoning. By avoiding these mistakes, you'll ensure your Blackstone seasoning process is successful, leading to a griddle that performs beautifully for years.Beyond the Griddle: Blackstone Flavor Seasonings
While the primary focus of this guide is the protective layer of Blackstone seasoning on the griddle surface itself, it's worth noting that Blackstone also offers a fantastic range of *flavor* seasonings designed to enhance your food. These are different from the oil-based seasoning process for the griddle's surface but are equally important for elevating your outdoor cooking. Blackstone's commitment to outdoor cooking without the compromise extends to their culinary products. They understand that those using a Blackstone griddle know that the steel and carbon appliance can transform a meal, and their flavor blends are designed to complement this. For example, you might find deals like Blackstone Whiskey Burger Seasoning for $6, instead of $16, or Blackstone Crazy Cajun Dry Mix Seasoning Blend for $6, instead of $10. These blends are crafted to bring out the best in your meats, vegetables, and more, adding depth and complexity to your griddle creations. Why you’ll love Blackstone Blackened Chicken cooked on a perfectly seasoned griddle with a dash of their Cajun blend is clear – it’s a match made in outdoor cooking heaven. Tackle any great outdoor event with the Blackstone family of products, from their versatile and durable griddles to their flavorful seasonings.Our products are made of solid rolled steel & were created to be versatile and durable, reflecting the brand's dedication to quality in every aspect of your outdoor cooking experience.
- Suncoast Community Health Center
- Fruit Flies Trap
- Envision Credit Union
- Padre Nuestro Prayer
- Louis Partridge Movies
Conclusion
Mastering the art of Blackstone seasoning is an indispensable skill for any griddle owner. We've walked through why seasoning is crucial for a non-stick surface and rust prevention, how to prepare your griddle, the detailed steps for applying multiple thin layers of high smoke point oil, and the essential maintenance routines. Remember, the key to a long-lasting and high-performing griddle lies in consistent care and the proper application of seasoning. Establishing a strong seasoning layer on your griddle's cooking surface before cooking will help improve your cooking experience and help your griddle last for years to come. With your griddle properly seasoned and maintained, you're not just cooking; you're creating culinary experiences. The versatility and durability of your Blackstone griddle, combined with a perfectly seasoned surface, will unlock endless possibilities for delicious meals outdoors. Now that you're an expert on Blackstone seasoning, it's time to put your knowledge to the test! Fire up your griddle and enjoy the non-stick magic. Have you seasoned your Blackstone griddle recently? Share your favorite seasoning oil or a tip you've learned in the comments below! Don't forget to explore other articles on our site for more outdoor cooking inspiration and tips. Happy griddling!- Eddie Murray
- Watkins Garrett And Woods
- Dorsal Foot
- Kearny Mesa Chevrolet
- Farmington Municipal Schools

Blackstone Seasoning Bundle | Looking to spice up your Blackstone

Steakhouse Seasoning – Blackstone Products
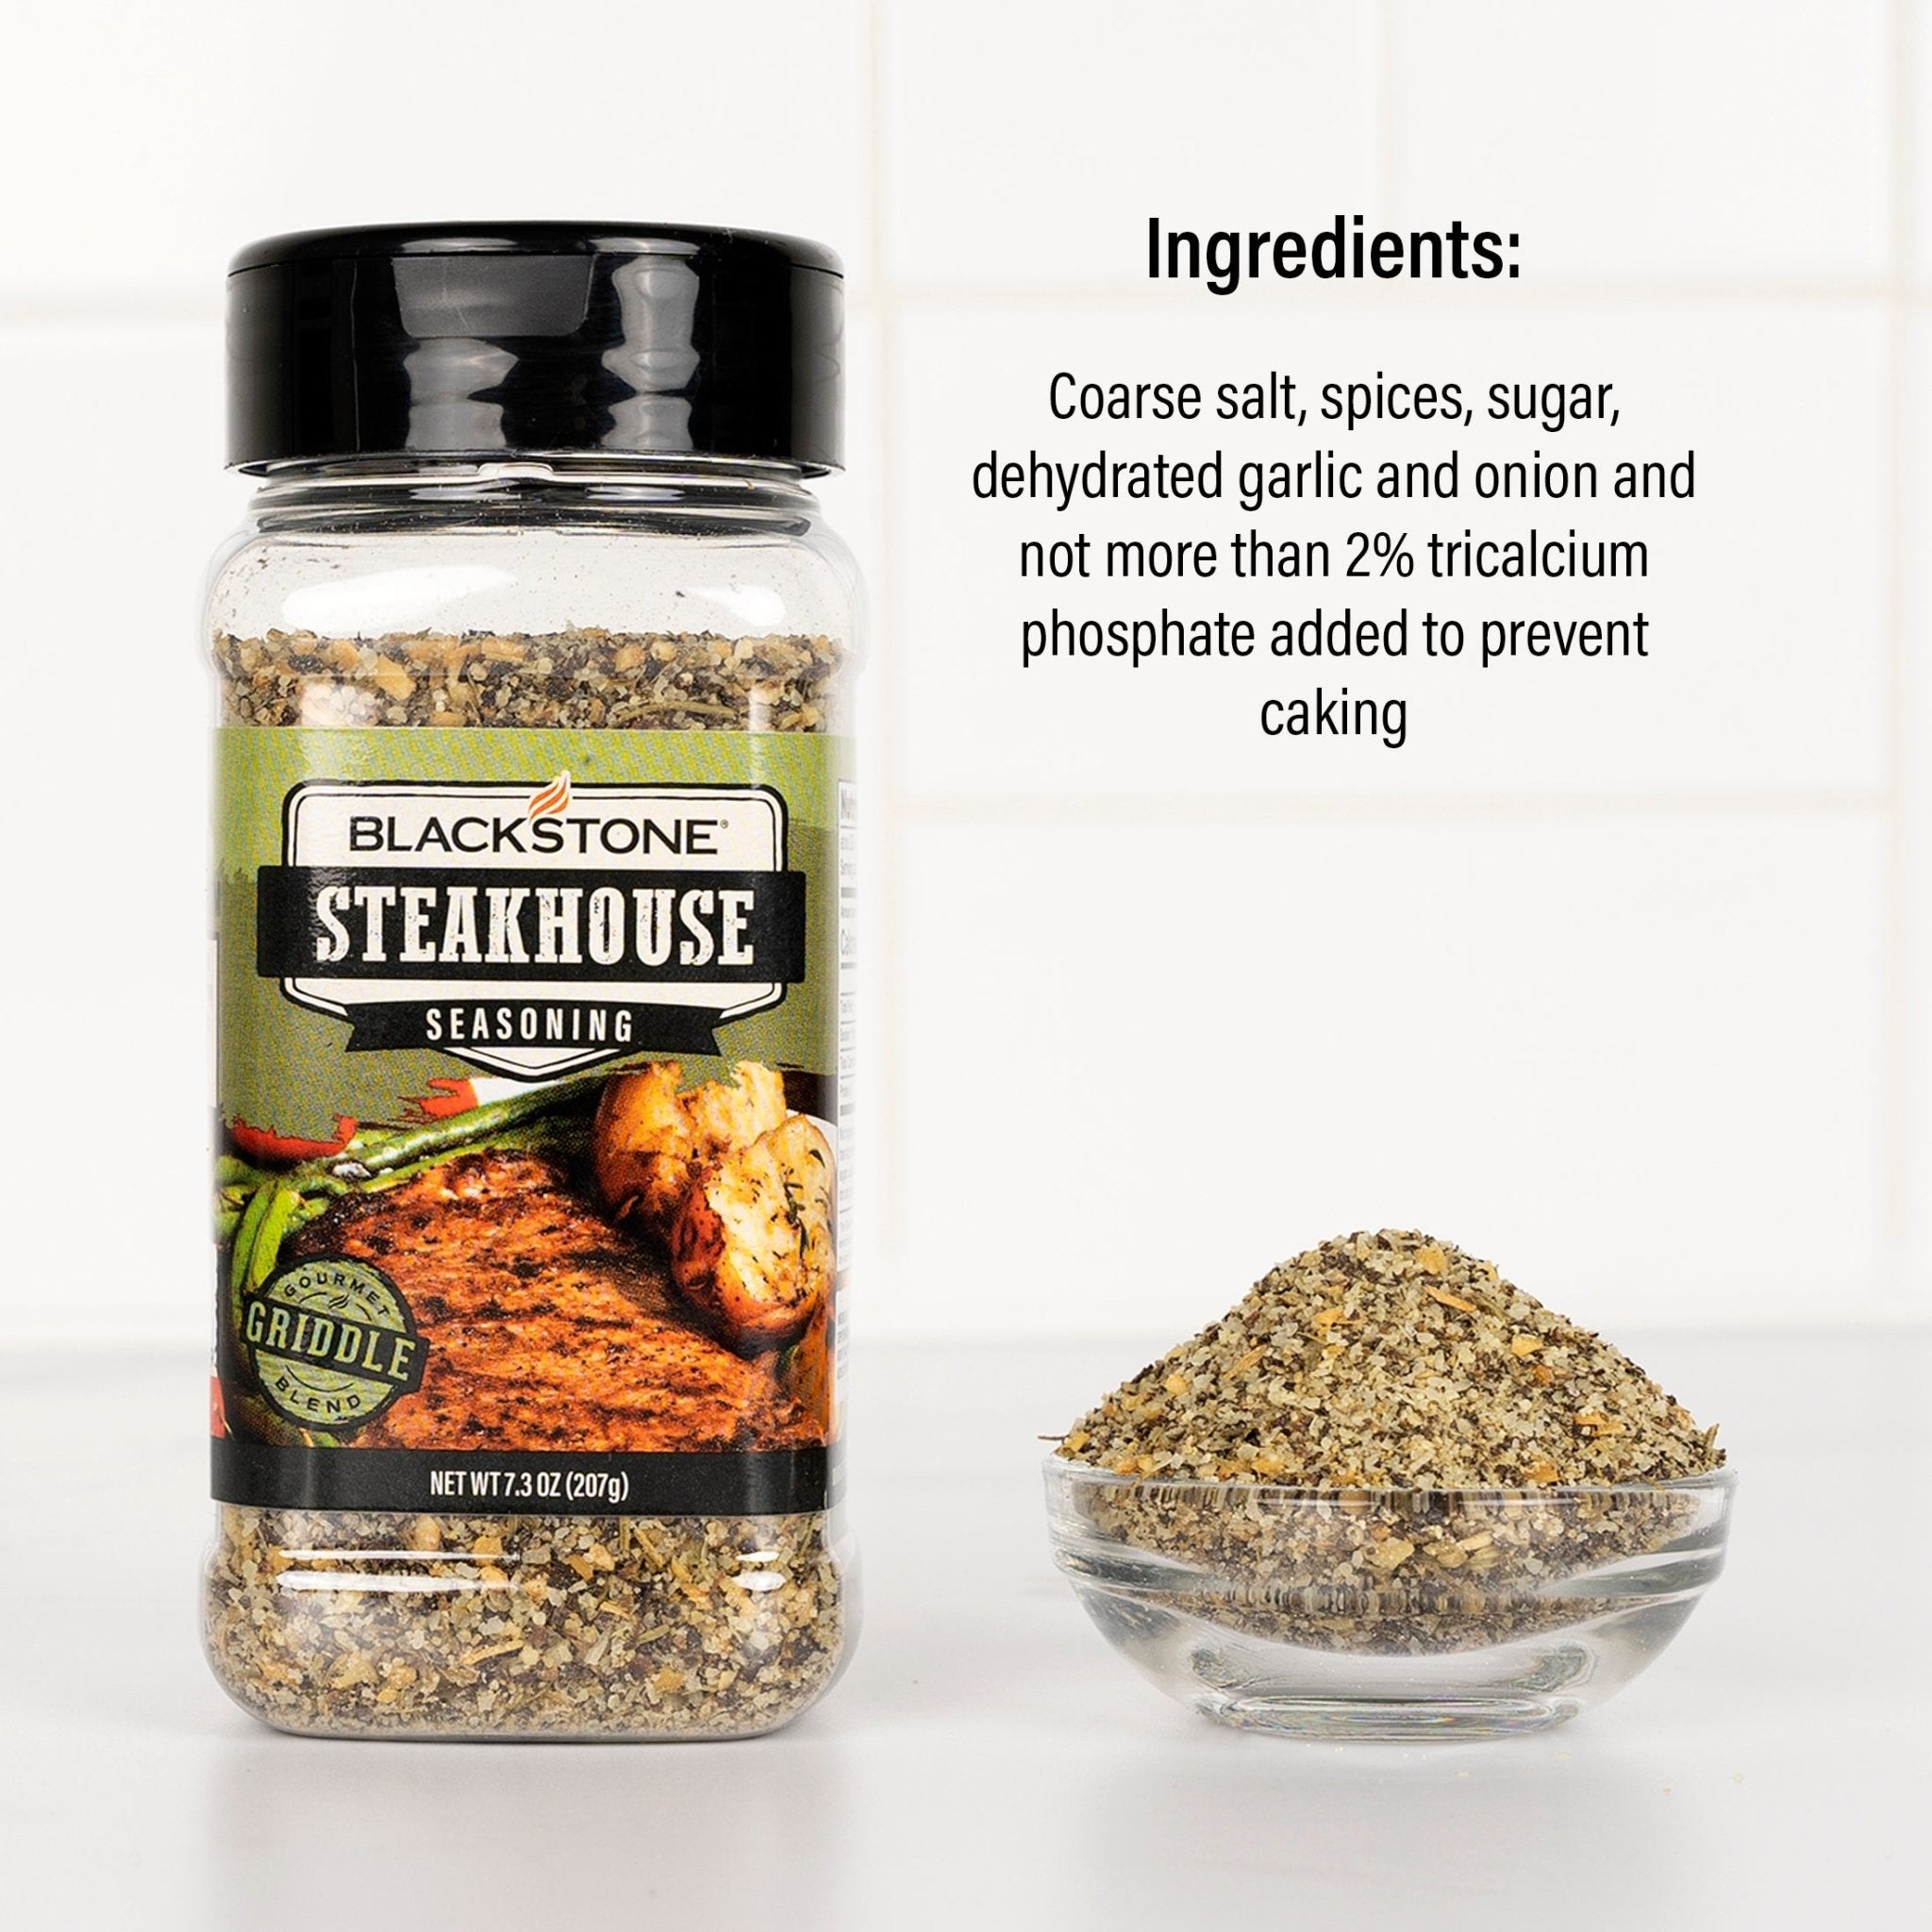
Steakhouse Seasoning – Blackstone Products
