Mastering The Cornish Hen Recipe: An Elegant Meal Made Easy
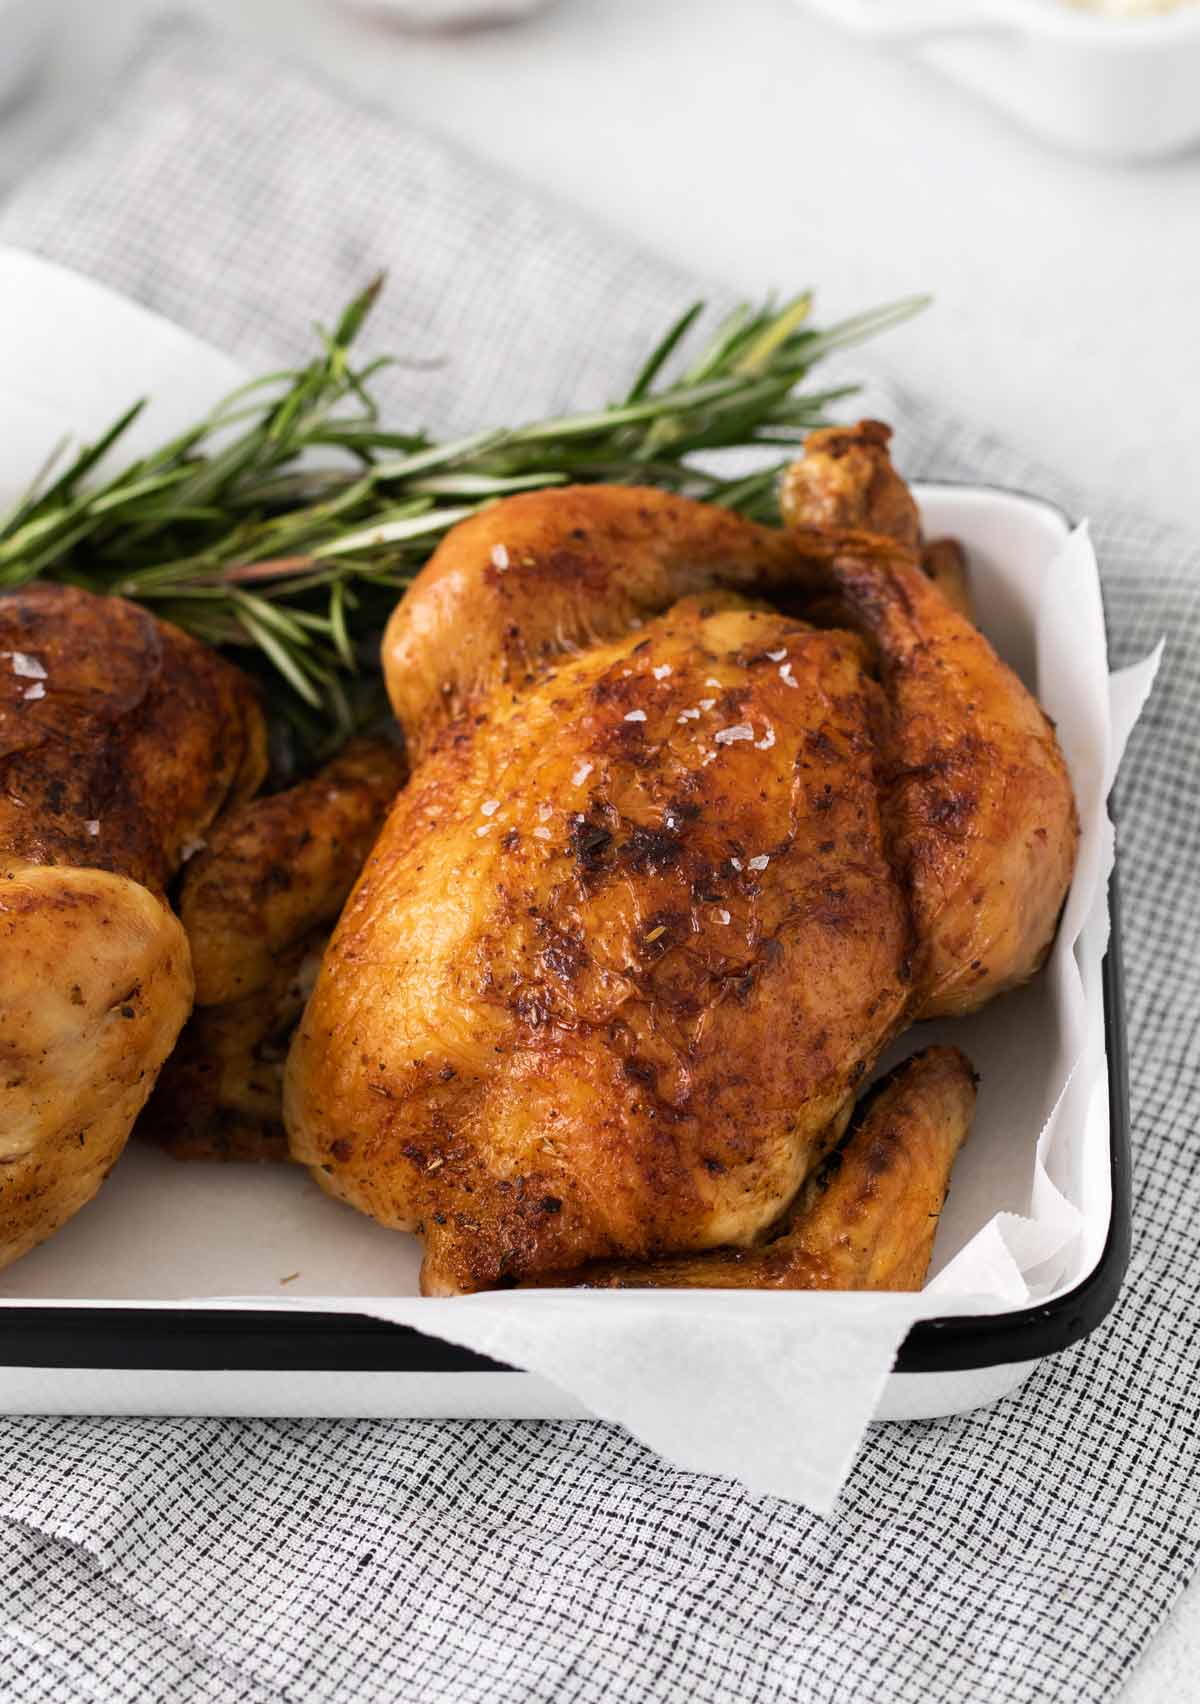
Are you searching for a show-stopping meal that’s both impressive and surprisingly simple to prepare? Look no further than the delightful Cornish hen. Often seen as a fancy alternative to a full-sized chicken, mastering a superb Cornish hen recipe can elevate any dinner, whether it's a weeknight treat or a special occasion. These miniature birds offer tender, succulent meat and crisp skin, making them a favorite among home cooks and culinary enthusiasts alike.
This comprehensive guide will walk you through everything you need to know to create the perfect Cornish hen, from selecting the best ingredients to achieving that coveted golden-brown skin and juicy interior. We'll explore various flavor profiles, essential cooking techniques, and crucial food safety tips to ensure your culinary endeavor is a resounding success. Get ready to impress your guests and delight your palate with an unforgettable meal.
Table of Contents
- Why Choose Cornish Hens?
- Essential Ingredients for the Perfect Cornish Hen Recipe
- Step-by-Step: Crafting Your Cornish Hen Recipe Masterpiece
- Flavor Variations and Creative Twists
- Pairing Your Cornish Hen: Side Dishes and Wine
- Food Safety and Handling: A Priority for Your Cornish Hen Recipe
- Common Pitfalls to Avoid for a Flawless Cornish Hen
- Essential Tools for Your Cornish Hen Recipe Journey
- Beyond the Basics: Advanced Tips
Why Choose Cornish Hens?
Cornish game hens, often simply called Cornish hens, are a specific breed of broiler chicken, typically weighing between 1 to 2 pounds. Their smaller size offers several distinct advantages that make them a fantastic choice for home cooks: * **Elegant Portion Control:** Each hen serves as a perfect individual portion, eliminating the need for carving at the table and adding a touch of sophistication to your presentation. This makes them ideal for dinner parties or intimate meals. * **Quicker Cooking Time:** Due to their size, Cornish hens cook significantly faster than a full-sized chicken, making them a great option for weeknights when time is of the essence. You can achieve a perfectly roasted bird in under an hour. * **Tender, Flavorful Meat:** The meat of Cornish hens is renowned for its tenderness and delicate flavor. When cooked properly, it remains incredibly moist and succulent, absorbing marinades and seasonings beautifully. * **Versatility:** A Cornish hen recipe can be adapted to countless flavor profiles, from classic herbs and garlic to more exotic spices and glazes. They are a blank canvas for your culinary creativity. * **Impressive Presentation:** There's something inherently appealing about serving a whole, perfectly roasted bird to each guest. It looks impressive with minimal effort, making you look like a seasoned chef.Essential Ingredients for the Perfect Cornish Hen Recipe
Crafting an exceptional Cornish hen recipe begins with selecting high-quality ingredients. While the core is the hen itself, the aromatics, fats, and liquids you choose will define its flavor profile.The Hens Themselves
When purchasing Cornish hens, look for plump, well-formed birds with intact skin. They are typically sold frozen, so ensure you allow ample time for proper thawing in the refrigerator (usually 24 hours per hen). Fresh hens should be stored in the coldest part of your refrigerator and cooked within 1-2 days of purchase.Aromatic Herbs and Spices
The magic of any roasted poultry lies in its seasoning. For a classic Cornish hen recipe, consider these staples: * **Fresh Herbs:** Rosemary, thyme, sage, and parsley are quintessential. They impart a fragrant, earthy aroma that complements poultry beautifully. Using fresh herbs is highly recommended over dried for superior flavor. * **Garlic:** Whole cloves, smashed or minced, can be tucked into the cavity or rubbed onto the skin for a pungent, savory kick. * **Onion/Shallots:** Quartered onions or halved shallots placed in the roasting pan or cavity add sweetness and depth to the pan drippings. * **Salt and Pepper:** These are non-negotiable. Use good quality coarse sea salt or kosher salt and freshly ground black pepper generously. Salt helps to crisp the skin and tenderize the meat. * **Paprika:** For color and a subtle smoky note, especially if using a smoked paprika variety. * **Lemon:** Slices of lemon placed in the cavity or squeezed over the hen before roasting add brightness and cut through richness.Flavorful Liquids and Fats
These elements contribute to moisture, flavor, and browning. * **Olive Oil or Melted Butter:** Essential for rubbing over the skin to promote browning and crispiness. Butter also adds a rich, nutty flavor. * **Chicken Broth or White Wine:** A splash in the bottom of the roasting pan creates a flavorful liquid for basting and forms the base for a pan sauce. * **Honey or Maple Syrup (Optional):** A touch of sweetness can be added to a glaze for a beautiful caramelized finish, particularly good with a hint of spice.Step-by-Step: Crafting Your Cornish Hen Recipe Masterpiece
This foundational Cornish hen recipe focuses on classic roasting techniques, ensuring a juicy interior and crispy skin. **Yields:** 2 servings **Prep time:** 15 minutes **Cook time:** 45-55 minutes **Ingredients:** * 2 Cornish hens (about 1.5 lbs each), thawed * 2 tbsp olive oil or melted unsalted butter * 1 tbsp fresh rosemary, chopped * 1 tbsp fresh thyme, chopped * 2 cloves garlic, minced * 1 tsp salt * ½ tsp black pepper * ½ lemon, quartered * 2 sprigs fresh rosemary (for cavity) * 2 sprigs fresh thyme (for cavity) * ½ cup chicken broth or dry white wine **Equipment:** * Roasting pan with a rack * Meat thermometer * Small bowl for mixing herbs * Kitchen twine (optional, for trussing)Preparation is Key
1. **Thaw and Pat Dry:** If frozen, ensure hens are fully thawed in the refrigerator. This can take up to 24 hours. Once thawed, remove the hens from their packaging. Crucially, pat them *very dry* inside and out with paper towels. Excess moisture on the skin prevents it from crisping up. 2. **Preheat Oven:** Preheat your oven to 400°F (200°C). Place a rack in a roasting pan. A rack is important as it allows air to circulate around the entire hen, promoting even cooking and crispier skin. 3. **Seasoning Blend:** In a small bowl, combine the olive oil (or melted butter), chopped fresh rosemary, chopped fresh thyme, minced garlic, salt, and black pepper. Mix well to form a fragrant paste. 4. **Prepare the Hens:** Place the dried hens on a clean cutting board. Gently loosen the skin over the breast and thighs, being careful not to tear it. Rub about half of the herb mixture directly onto the meat under the skin. This infuses flavor directly into the flesh. Then, rub the remaining herb mixture generously over the entire exterior of each hen, ensuring it’s well coated. 5. **Stuff the Cavity:** Place a quarter of the lemon, one sprig of rosemary, and one sprig of thyme into the cavity of each hen. This adds aromatic steam from the inside out. 6. **Truss (Optional but Recommended):** If desired, truss the hens. This involves tying the legs together with kitchen twine and tucking the wing tips under the body. Trussing helps the hens cook more evenly and maintain a compact, attractive shape. 7. **Arrange in Pan:** Place the seasoned and trussed hens breast-side up on the rack in your roasting pan. Pour the chicken broth or white wine into the bottom of the roasting pan. This liquid will prevent drippings from burning and create a flavorful base for a potential pan sauce.Roasting for Perfection
1. **Initial Roast:** Place the roasting pan in the preheated oven. Roast for 20-25 minutes. 2. **Lower Temperature and Baste:** After the initial roasting, reduce the oven temperature to 375°F (190°C). Baste the hens with the pan drippings. Continue roasting for another 25-30 minutes, basting every 10-15 minutes, until the skin is deeply golden brown and crispy. 3. **Check for Doneness:** The most critical step for any poultry is ensuring it's cooked to a safe internal temperature. Insert a meat thermometer into the thickest part of the thigh, avoiding the bone. The internal temperature should reach 165°F (74°C). If it hasn't, continue roasting and checking every 5-10 minutes. The USDA recommends this temperature for poultry safety.Resting for Juiciness
1. **Rest the Hens:** Once the hens reach the target internal temperature, carefully remove the roasting pan from the oven. Transfer the hens to a clean cutting board or serving platter. 2. **Tent with Foil:** Loosely tent the hens with aluminum foil. This allows the juices to redistribute throughout the meat, resulting in a much juicier and more tender final product. Rest for at least 10 minutes (up to 15 minutes for larger hens). Do not skip this step! 3. **Serve:** After resting, remove the twine (if used) and serve the whole hens. You can drizzle with any pan juices or a quick pan sauce made from the drippings.Flavor Variations and Creative Twists
The classic Cornish hen recipe is just the beginning. These small birds are incredibly versatile, allowing for a myriad of flavor combinations. * **Lemon-Herb:** Beyond the basic, incorporate more lemon zest into your herb rub, or create a lemon-herb butter to spread under the skin. * **Garlic-Parmesan:** Mix minced garlic with grated Parmesan cheese, olive oil, and breadcrumbs for a crispy, savory coating. * **Asian-Inspired:** Marinate the hens in a blend of soy sauce, ginger, garlic, sesame oil, and a touch of honey. Roast until glazed and sticky. * **Spicy Southwestern:** Rub with chili powder, cumin, smoked paprika, and a pinch of cayenne. Serve with a fresh salsa. * **Mediterranean:** Use oregano, marjoram, lemon, and a splash of white wine. Stuff the cavity with olives and sun-dried tomatoes. * **Orange-Glazed:** Create a glaze with orange juice, orange zest, brown sugar, and a hint of Dijon mustard. Baste frequently during the last 15-20 minutes of cooking.Pairing Your Cornish Hen: Side Dishes and Wine
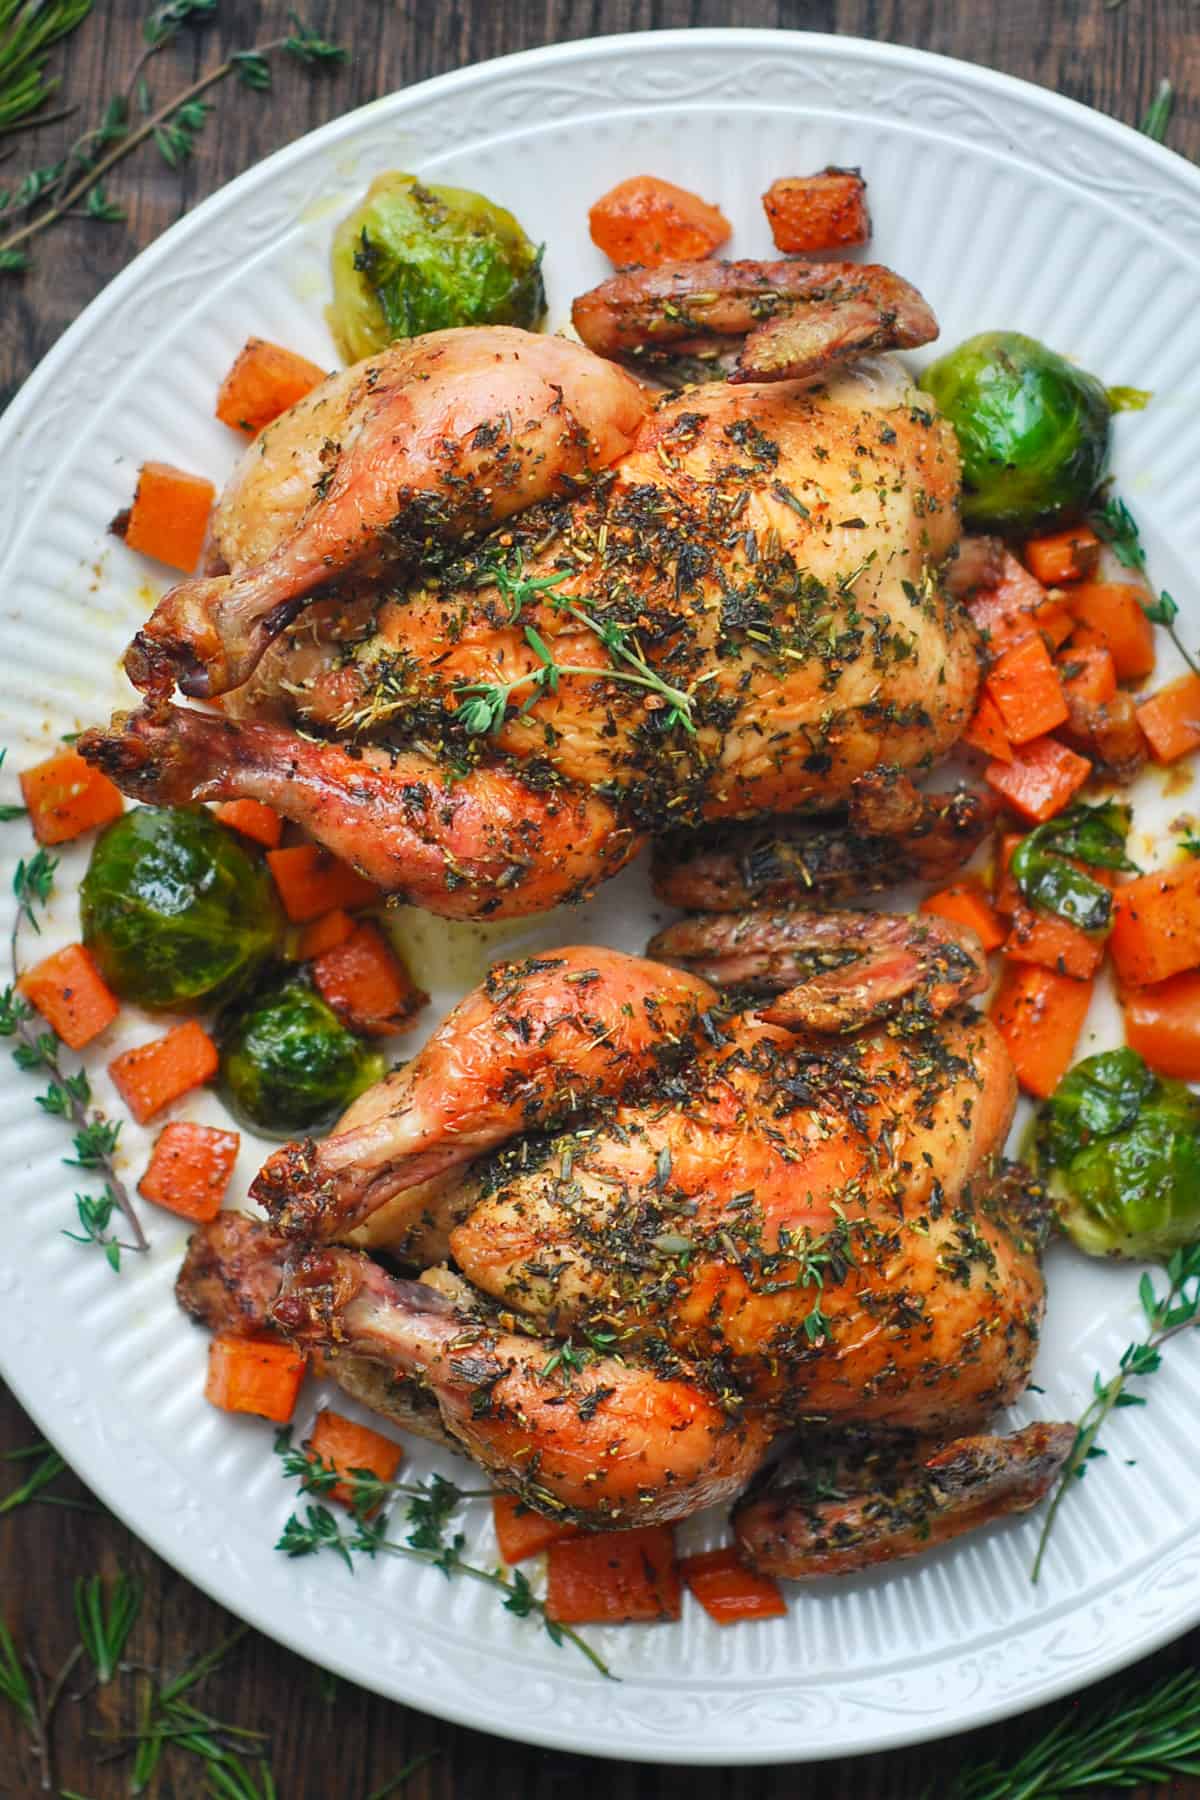
A beautifully roasted Cornish hen recipe deserves equally thoughtful accompaniments. * **Classic Roasts:** Roasted root vegetables like carrots, potatoes, parsnips, or sweet potatoes are excellent choices. They can even be roasted in the same pan with the hens, absorbing the delicious drippings. * **Green Vegetables:** Steamed or roasted asparagus, green beans, or Brussels sprouts add freshness and color. * **Grains:** Wild rice pilaf, quinoa, or a simple couscous can provide a hearty base. * **Salads:** A light, crisp green salad with a vinaigrette dressing can offer a refreshing contrast. * **Pan Sauce:** Don't let those flavorful pan drippings go to waste! After removing the hens, you can easily make a quick pan sauce. Deglaze the pan with a bit more broth or wine, scrape up any browned bits, reduce slightly, and whisk in a pat of butter for richness. * **Wine Pairings:** * **White Wines:** A crisp Sauvignon Blanc, a buttery Chardonnay (especially if using a rich herb butter), or a light Pinot Grigio would complement the delicate flavor of the hen. * **Red Wines:** For those who prefer red, a light-bodied Pinot Noir or a Beaujolais would be excellent choices, as they won't overpower the poultry.Food Safety and Handling: A Priority for Your Cornish Hen Recipe
When dealing with poultry, food safety is paramount to prevent foodborne illnesses. Adhering to these guidelines ensures your Cornish hen recipe is not only delicious but also safe to consume. * **Thawing:** Always thaw frozen poultry in the refrigerator, never at room temperature. This slow, cold thaw prevents bacteria from multiplying rapidly on the surface while the interior thaws. A general rule is 24 hours per 5 pounds, so a Cornish hen will need at least 24 hours. * **Cross-Contamination:** Raw poultry can contain harmful bacteria like Salmonella. Use separate cutting boards, utensils, and plates for raw poultry and cooked foods or fresh produce. Wash your hands thoroughly with soap and warm water for at least 20 seconds after handling raw poultry. Sanitize all surfaces that came into contact with raw meat. * **Internal Temperature:** As mentioned, the most reliable way to ensure doneness is to use a meat thermometer. The internal temperature in the thickest part of the thigh (without touching bone) should reach 165°F (74°C). Juices running clear are a good visual indicator, but a thermometer is the only way to be certain. * **Storage of Leftovers:** Promptly refrigerate any leftovers within two hours of cooking. Store them in airtight containers and consume within 3-4 days. Reheat leftovers to an internal temperature of 165°F (74°C). * **Marinades:** If you marinate your hens, do so in the refrigerator. Never reuse marinade that has been in contact with raw poultry unless it has been boiled to kill any bacteria.Common Pitfalls to Avoid for a Flawless Cornish Hen
Even with a great Cornish hen recipe, small mistakes can impact the final outcome. Be mindful of these common issues: * **Not Patting Dry:** This is perhaps the most frequent culprit behind soggy skin. Moisture on the skin creates steam, preventing crispiness. Take the extra minute to thoroughly pat the hens dry with paper towels before seasoning. * **Overcrowding the Pan:** If you're cooking multiple hens, ensure they have enough space in the roasting pan. Overcrowding leads to steaming rather than roasting, resulting in less crispy skin and uneven cooking. Use two pans if necessary. * **Under-Seasoning:** Small birds still need plenty of seasoning. Don't be shy with salt, pepper, and herbs. Remember to season both inside and out, and even under the skin. * **Skipping the Rest:** Resting the meat after cooking is crucial for juiciness. Without it, the juices will run out when you cut into the hen, leaving the meat dry. * **Not Using a Meat Thermometer:** Guessing doneness is risky. An inexpensive meat thermometer is your best friend for perfectly cooked, safe poultry every time. * **Overcooking:** Because they are small, Cornish hens can dry out quickly if overcooked. Monitor their temperature closely.Essential Tools for Your Cornish Hen Recipe Journey
While you don't need a professional kitchen, a few key tools will make preparing your Cornish hen recipe much easier and more successful. * **Roasting Pan with Rack:** A sturdy roasting pan is essential. The rack is crucial for air circulation, ensuring the bottom of the hen gets as crispy as the top. * **Instant-Read Meat Thermometer:** This is non-negotiable for food safety and achieving perfect doneness. Digital instant-read thermometers are fast and accurate. * **Basting Brush:** For evenly coating the hens with oil/butter and for basting with pan drippings during cooking. * **Kitchen Twine:** Useful for trussing the hens, which helps them cook evenly and look more appealing. * **Sharp Chef's Knife and Cutting Board:** For preparing herbs, garlic, and lemons. Remember to use a separate board for raw poultry. * **Heavy-Duty Aluminum Foil:** For tenting the hens during the resting period. * **Tongs or Oven Mitts:** For safely handling hot pans and transferring the cooked hens.Beyond the Basics: Advanced Tips
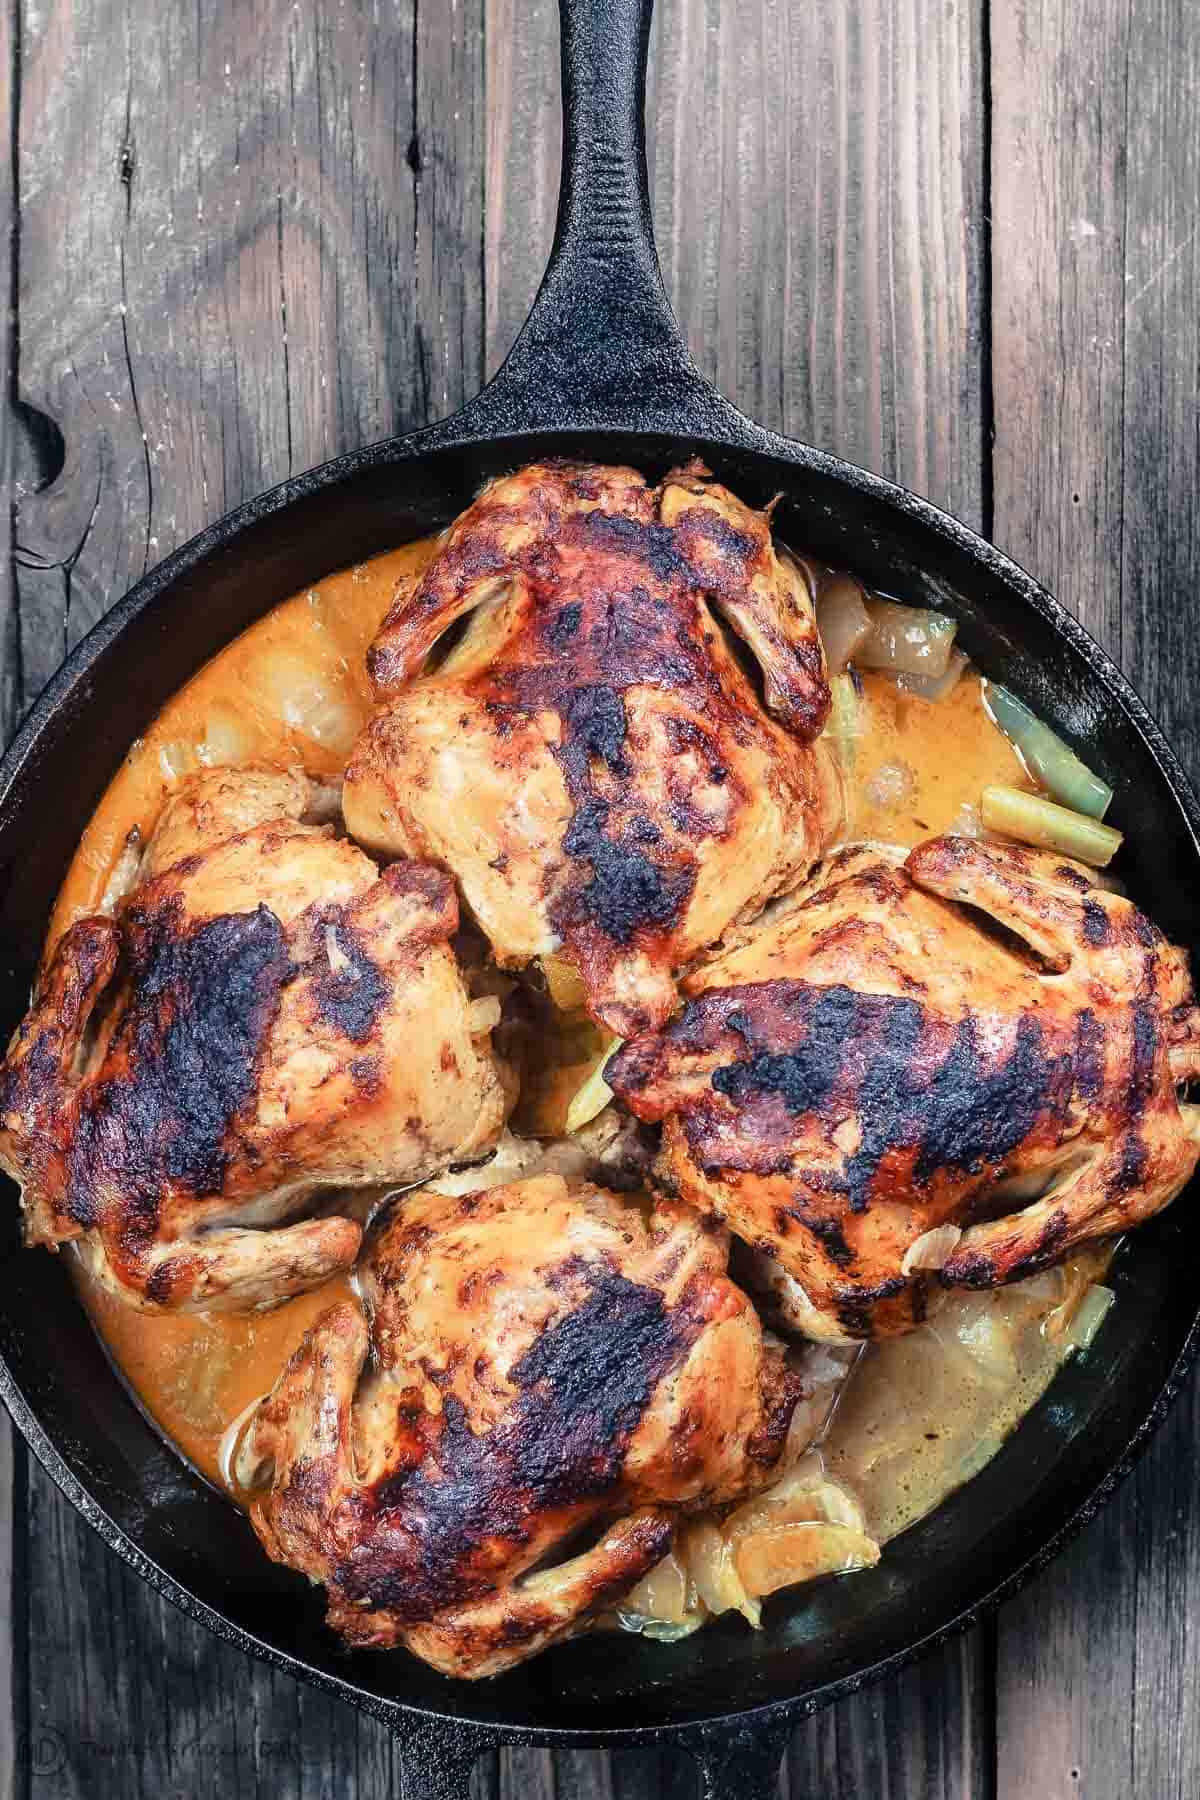
For those looking to take their Cornish hen recipe to the next level, consider these advanced techniques: * **Spatchcocking (Butterflying):** This technique involves removing the backbone and flattening the hen. It significantly reduces cooking time and promotes incredibly even cooking and crispy skin all over. It's a game-changer for speed and texture. * **Brining:** For ultimate juiciness and flavor, consider a simple salt brine. A basic brine consists of water, salt, and optional aromatics like bay leaves or peppercorns. Submerge the hens in the brine for 1-4 hours in the refrigerator before roasting. Pat very dry after brining. * **Compound Butter:** Instead of just olive oil or plain butter, create a compound butter by mixing softened butter with finely chopped herbs, minced garlic, lemon zest, and spices. Spread this under and over the skin for an explosion of flavor and richness. * **High-Heat Sear then Roast:** For an even crispier skin, start the hens in a very hot oven (e.g., 450°F/230°C) for the first 15-20 minutes, then reduce the temperature to finish cooking. This initial blast of heat helps to render the fat and crisp the skin quickly.The Cornish hen recipe is a testament to the idea that elegance doesn't have to be complicated. With just a few quality ingredients and straightforward techniques, you can create a meal that looks and tastes like it came from a gourmet kitchen. These small, flavorful birds are perfect for individual portions, offering a delightful alternative to larger poultry and a fantastic canvas for your culinary imagination.
We hope this comprehensive guide empowers you to confidently tackle your next Cornish hen. Remember the importance of proper preparation, precise cooking temperatures, and that crucial resting period for the juiciest results. Don't be afraid to experiment with different herbs, spices, and glazes to find your signature flavor. What's your favorite way to prepare Cornish hens? Share your tips and variations in the comments below, or share this article with fellow food enthusiasts!
Easy Cornish Game Hen Recipe Baked In Oven | Deporecipe.co
Easy Cornish Game Hen Recipe Baked In Oven | Deporecipe.co
Easy Cornish Game Hen Recipe Baked In Oven | Deporecipe.co
